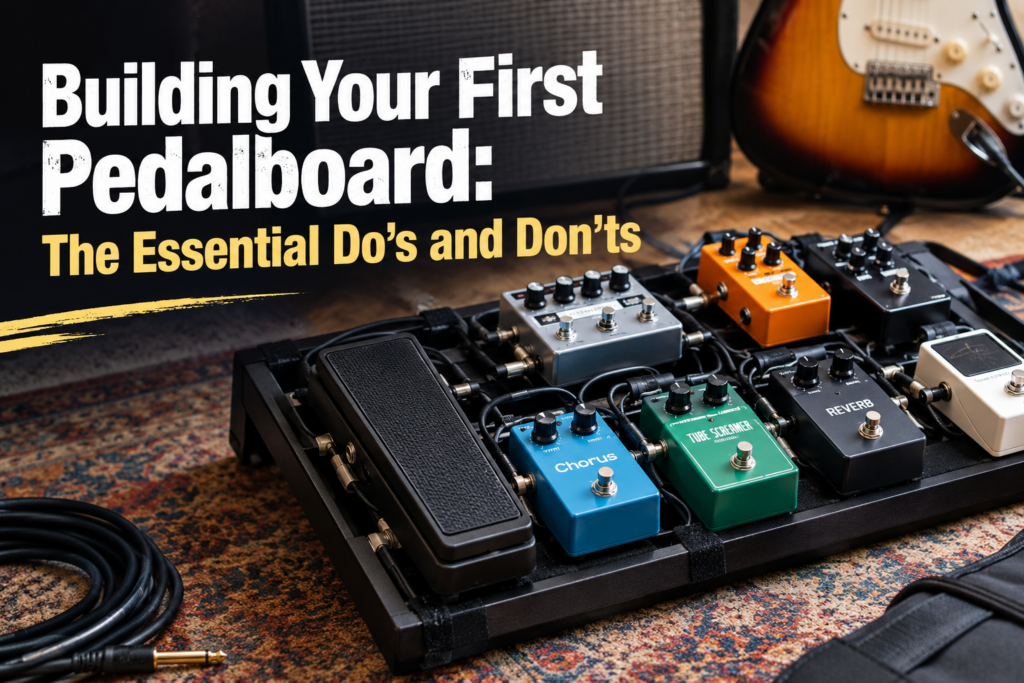
Building a pedalboard is one of the most enjoyable parts of being a guitarist. There is something particularly satisfying about taking a collection of individual pedals and turning them into a complete rig that can transform the sound of your guitar at the push of a switch.
It can also become surprisingly complicated.
With hundreds of pedals available, countless opinions about signal chains, different power requirements, patch cables, buffers, switching systems, and an ever growing list of boutique effects, it is easy to spend more time thinking about your pedalboard than actually playing your guitar.
The good news is that building a great pedalboard does not have to be complicated. Whether you are putting together your first board or trying to tidy up a setup you have been using for years, there are a few simple principles that can save you money, reduce unwanted noise, and make your rig much easier to use.
Here are some of our essential do’s and don’ts for building a better guitar pedalboard.
DO: Start With the Sounds You Actually Need
It is tempting to start building a pedalboard by deciding how many pedals you can fit onto it. A better approach is to think about what you actually want your guitar to sound like.
Do you need a clean boost for solos? A couple of different levels of overdrive? Chorus for clean parts? Delay for leads? Reverb for adding some space?
Start there.
A guitarist who mainly plays blues may have very different requirements from someone playing ambient music, metal, country, or indie rock. There is no prize for having the biggest pedalboard, and a board containing five pedals that you know inside out can be far more useful than one containing fifteen that you barely use.
Your pedalboard should serve your playing, not the other way around.
DON’T: Buy a Pedal Just Because Everyone Else Has One
The guitar world is full of legendary pedals, and there is usually a good reason why certain models become classics. That does not necessarily mean that every classic pedal belongs on your board.
It is easy to watch a video, read a review, or see your favourite guitarist using a particular pedal and immediately decide that you need one yourself.
Before buying, ask yourself what it is going to add to your rig.
If you already have three overdrive pedals, for example, another one may not give you anything that your existing pedals cannot already do. On the other hand, if you are missing a sound that you regularly find yourself trying to achieve, that is probably where your next purchase should be focused.
DO: Plan Your Board Before You Start Mounting Everything
Once you have decided which pedals you actually want to use, lay them all out on the floor or on the board itself.
This is the stage where you can work out where everything should go, how much space you need, and whether your cables will reach.
Think about how you will actually operate the board when playing. Your most frequently used pedals should be easy to reach, and pedals with multiple footswitches or controls may need more space around them.
It is also worth leaving some room for your feet. A board might look wonderfully neat when viewed from above, but that does not necessarily mean it will be easy to operate during a gig.
DON’T: Cram Every Last Pedal Onto the Board
There is something satisfying about filling every available centimetre of a pedalboard, but leaving a little space can be a very good thing.
Your collection of pedals will probably change over time. You may discover a new effect, replace an existing pedal, or decide that something you thought you needed is actually sitting unused.
Leaving some room gives you flexibility.
It also makes the board easier to work on. When you need to change a cable, replace a battery, adjust a setting, or troubleshoot a problem, having a little breathing room can make life considerably easier.
DO: Pay Attention to Your Power Supply
One of the least glamorous parts of building a pedalboard is also one of the most important.
Different pedals can have different voltage, current, and polarity requirements, so it is important to make sure that your power supply is suitable for every pedal you are connecting to it.
An isolated power supply can also help reduce unwanted noise, particularly as your board becomes larger and more complicated.
Do not simply assume that because two pedals use the same type of power connector, they can automatically share the same power source. Check the requirements of each pedal and make sure your supply can handle the combined demands of your board.
It is one of those areas where spending a little more time getting things right can save a lot of frustration later.
DON’T: Treat Patch Cables as an Afterthought
Your patch cables might not be the most exciting part of your pedalboard, but they are essential.
Use cables that are the appropriate length for your layout, keep unnecessary cable runs to a minimum, and make sure your connections are secure.
If a pedal suddenly stops working, a loose or faulty patch cable is one of the first things worth checking.
Keeping your cables organised also makes troubleshooting considerably easier. A board that looks like a tangled collection of wires can make it surprisingly difficult to work out where a problem is coming from.
DO: Think About Noise Before It Becomes a Problem
A pedalboard can introduce unwanted noise for several reasons. Power supplies, cables, gain levels, buffers, lighting, and other equipment can all play a part.
The more pedals you add, the more opportunities there are for something to go wrong.
If your board becomes noisy, do not immediately assume that the problem is a faulty pedal. Disconnect everything and work through the setup methodically. Try each pedal individually, check your cables, and make sure your power supply is appropriate.
It is much easier to find a problem when you know exactly what you are testing.
DON’T: Assume There Is One Perfect Signal Chain
There are plenty of conventional approaches to arranging your pedals, and understanding those conventions is an excellent place to start.
However, there is no universal rule that says every pedalboard has to follow exactly the same order.
Moving pedals around can produce completely different results, and some combinations that look unusual on paper can produce fantastic sounds.
We have already covered the fundamentals of signal chain order in our guide to arranging guitar pedals, so if you are unsure where to begin, that is a great place to start. Once you understand the basic principles, experiment with them.
Your ears are ultimately more important than someone else’s diagram.
DO: Build Your Board Around How You Play Live
A pedalboard that works perfectly in your bedroom might not work quite as well on stage.
Think about which pedals you need during a song, how quickly you need to switch between sounds, and whether you can comfortably reach everything.
If you regularly need to activate two pedals simultaneously, consider whether their positioning makes that easy. If you have a complicated collection of effects, you might eventually benefit from a switching system or MIDI controller.
The important thing is to think about the practical reality of using the board rather than just how it looks.
DON’T: Forget About Transport
A pedalboard is only useful if you can actually get it to where you need to play.
A huge board containing a dozen pedals might be impressive, but it can quickly become a chore if you are regularly carrying it between rehearsals, gigs, and recording sessions.
Consider the size and weight of the board, how it will be transported, and whether it can be protected properly.
If you are putting together a board for regular gigging, durability is just as important as appearance.
DO: Secure Your Pedals Properly
Once you are happy with the layout, make sure everything is securely mounted.
A pedal that moves around the board during a performance can pull on cables, become difficult to operate, or potentially disconnect altogether.
Hook and loop fastening systems are a popular solution, while some players prefer more permanent mounting options.
Whatever you choose, make sure you can still access the pedal’s controls and remove it easily if it needs servicing or replacing.
DON’T: Ignore Your Settings
Getting your pedals onto the board is only half the job.
Once everything is connected, spend some time setting up the sounds you actually use.
If you have multiple overdrives, work out which combinations give you the sounds you want. If you use delay, make sure your repeats work with the tempos you regularly play. If you use modulation, decide which settings are useful rather than simply leaving the pedal at whatever sounded good when you first bought it.
It can also be useful to take photographs of your settings. If you accidentally change something before a gig, you have a reference to return to.
DO: Test Everything at Rehearsal Volume
One of the easiest mistakes to make is setting up a pedalboard at home and assuming it will sound exactly the same when you take it to rehearsal.
It probably will not.
Your guitar, amplifier, room, volume, and the rest of the band all affect how your pedals sound.
A tone that seems huge through a bedroom amplifier can disappear when a drummer starts playing. Equally, a sound that seems subtle at home may become far more prominent at gig volume.
Whenever possible, test your complete board in the environment in which you are actually going to use it.
DON’T: Be Afraid to Remove Pedals
One of the hardest things about building a pedalboard is accepting that sometimes the best thing you can do is take something off it.
If you have a pedal that you never use, ask yourself why it is still there.
Maybe you bought it for a specific sound that you no longer need. Maybe another pedal has replaced it. Maybe you simply do not like the way it interacts with the rest of your rig.
There is nothing wrong with removing it.
A smaller board can be easier to use, easier to transport, and easier to troubleshoot. More pedals do not automatically mean more possibilities if you never actually use them.
The Most Important Rule: Build the Board for You
There are countless guides to pedalboards, thousands of pedal reviews, and an almost endless number of opinions about what should and should not be on a guitarist’s board.
Use them as a starting point, but do not feel that you have to follow them religiously.
The best pedalboard is the one that gives you the sounds you need, works reliably, and makes playing your guitar more enjoyable.
Start with the pedals that genuinely add something to your sound. Plan the layout carefully, use suitable power and cables, keep everything organised, and test the finished board properly.
After that, the most important thing is simple.
Plug in, turn it up, and play.
Because ultimately, your pedalboard is there to help you make music. It should never become more important than the music itself.